


Key Steps
1.
2.
3.
Import your audio
Create a fade out
Loop your audio
0 : 11
0 : 32
1 : 00
2.
3.
Create a fade out
Loop your audio
0 : 32
1 : 00
Tips and Tricks
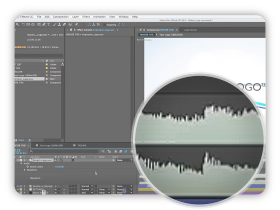
Audio Waveform
Select the layer and hit the L key twice
quickly to show the audio waveform.
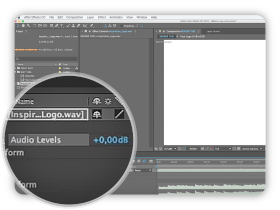
Audio Levels
You can keyframe the audio level to fade
the volume or to adjust the overall level.
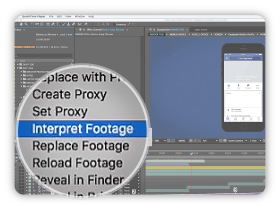
Interpret Footage
It allows you to loop footage, change frame
rate and interpret alpha channels.
Tutorial Transcript
In this tutorial, we will show you how to import your audio and mix it to your template.
First you have to open your project. Select the audio file of your choice on your computer and import it in the Project panel. Then drag it into the RENDER THIS composition. If needed, you can see the waveform of your audio file : simply select the audio layer and hit the L key twice.
If your audio file is longer than your project duration, you can adjust the audio levels to create a fade out. To proceed, place the time locator approximately one second before the end of your composition, and click on the Level key frame. Now go at the end of the composition, click again on the level key frame but turn it down to the minimum of – 48dB.
If your audio file is shorter than your composition, you can loop it with After Effects. Here is how to proceed : in the Project panel, right click on your audio file and select Interpret Footage. On the bottom of the window, you can set the loop options. In our case, we will repeat the audio 5 times. You are now able to extend the audio layer in the RENDER THIS composition to fit with your project duration. You can again add a fade out at the end of your composition for a better result.
We hope this tutorial has been useful for you. Feel free to contact us if you have any questions. Thanks for watching!
Comments are closed.